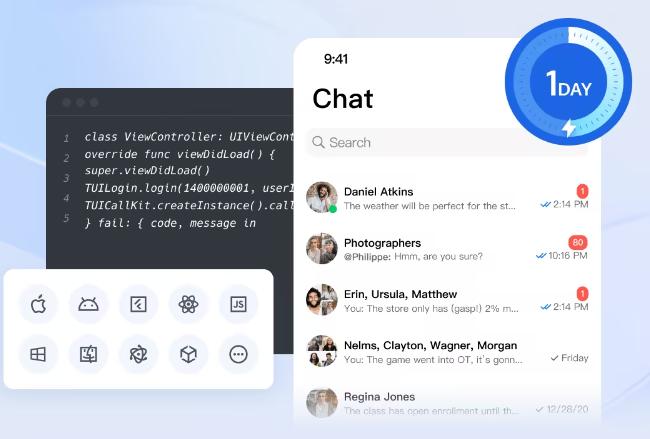
In today's digital age, connecting with customers in real-time is crucial for businesses looking to enhance user experience and drive conversions. With the increasing demand for instant communication, integrating an online live chat feature into your website or application using a Chat API has become essential. In this comprehensive guide, we'll walk you through the process of creating a seamless and engaging live chat online using a Chat API.
Understanding Chat APIs
Chat APIs, also known as messaging APIs, are software interfaces that allow developers to incorporate chat functionality into their applications or websites. These APIs provide a set of tools, protocols, and endpoints that enable real-time messaging between users and systems.
Step-by-Step Guide to Creating an Online Live Chat with Chat API
Step 1: Choose the Right Chat API Provider
Begin by researching and selecting a reliable Chat API provider that meets your specific requirements in terms of features, scalability, security, and pricing. Popular Chat API providers such as TecentRTC, which brings Higher Engagement with a Chat API.
Step 2: Sign Up and Obtain API Credentials
Once you've chosen a Chat API provider, sign up for an account and obtain the necessary API credentials, including keys, tokens, and authentication details. These credentials will allow you to access the Chat API services and integrate them into your platform.
Step 3: Integrate the Chat SDK
Next, integrate the Chat SDK (Software Development Kit) provided by the Chat API provider into your website or application. The SDK includes libraries, modules, and code snippets that facilitate communication between the frontend interface and the Chat API backend.
Step 4: Implement User Authentication
Set up user authentication mechanisms to authenticate users and authorize access to chat features. Implement secure authentication methods such as JSON Web Tokens (JWT), OAuth, or session-based authentication to ensure user privacy and data security.
Step 5: Create Chat Channels and Rooms
Define chat channels, rooms, or groups based on your application's requirements. Organize users into logical groups or categories and create dedicated chat spaces for different topics, departments, or user segments.

Step 6: Enable Real-Time Messaging
Implement real-time messaging functionality to allow users to send and receive messages instantly. Utilize WebSocket technology or long-polling techniques to establish persistent connections between clients and servers, enabling seamless message delivery and updates.
Step 7: Customize the Chat Interface
Customize the chat interface to match your website or application's branding, style guidelines, and user experience preferences. Customize user avatars, message bubbles, emojis, and other visual elements to create a cohesive and immersive chat experience.
Step 8: Implement Additional Features
Incorporate additional features and functionality to enhance the chat experience. These may include file sharing, multimedia messaging, typing indicators, message reactions, read receipts, message threading, and chatbot integration.
Step 9: Test, Monitor, and Iterate
Conduct thorough testing and debugging to identify and resolve any issues or inconsistencies in the chat functionality. Monitor user activity, engagement metrics, and chat performance using analytics tools provided by the Chat API. Analyze chat logs, message histories, user interactions, and feedback to gain insights into user behavior and optimize the chat experience over time.
Conclusion
Creating an engaging online live chat with a Chat API is a strategic investment that can significantly improve user engagement, customer support, and overall interaction on your platform. By following the step-by-step guide outlined in this article and leveraging the capabilities of Chat APIs effectively, you can create a seamless and interactive chat experience that delights users and drives business success. Embrace the power of real-time communication and elevate your online presence with an engaging live chat solution powered by Chat API technology.


Leave a Reply